Chain Checker Plus II
Regular price $21.49
Unit pricet per
- 6460701
Chain Checker Plus II
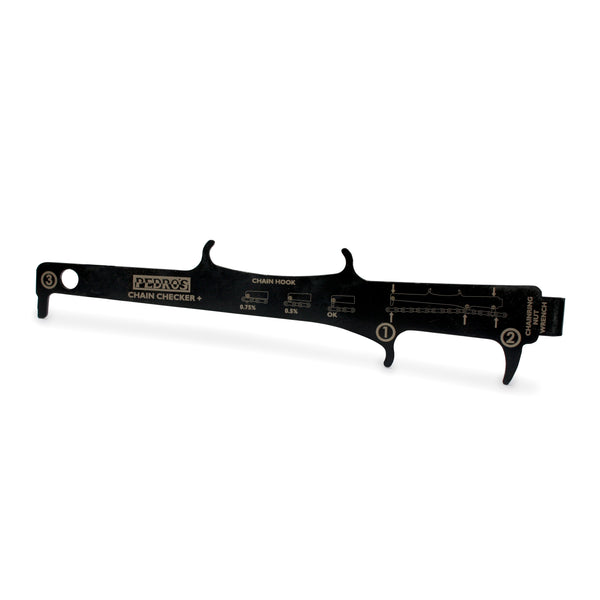
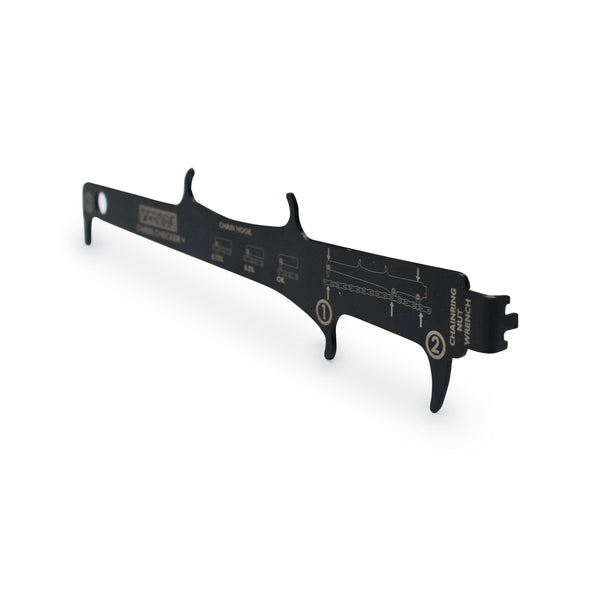
Chain Wear Check Tool, Chain Hook Tool, and Chainring Nut Wrench
- Precision laser cut design accurately measures 0.5% and 0.75% chain wear.
- Three point chain wear tool design properly isolates pin wear from roller wear.
- Chain hook tool and chainring nut wrench add functional versatility and value.
- Chain wear tool approved by SRAM® for use on EAGLE® 12-speed and Flattop chains.
Checking your chain for wear is one of the simplest things any cyclist can do to maintain drivetrain performance and minimize maintenance costs. The Pedro's Chain Checker Plus II makes this task quick and easy offering a simple check of 0.5% and 0.75% chain wear. To ensure the maximum life from your chain and accuracy of measurement, the tool employs a three-point design which properly isolates pin wear from roller wear. Other two-point designs do not and can incorrectly indicate a worn chain, robbing the user of additional miles and money. The Chain Checker Plus II also includes a chain hook tool, perfect for simplifying chain removal and installation, and a chainring nut wrench, essential for removal and installation of chainrings. Works on 1-13 speed chains. Chain wear tool approved by SRAM® for use on EAGLE® 12-speed and Flattop chains.
Chain Checker Plus II User Instructions PDF
How does the Chain Checker Plus provide a more accurate measurement?
Chains wear out over time and become elongated. This can lead to poor performance and even damage other parts. Though many refer to this wear as chain stretch, none of the parts are actually being stretched over time. Instead, chain wear is solely based on an increase in pin to pin distance. This is caused only by wear to the chain pins and mating holes on the inner links. Normal wear that may occur to the chain rollers does not contribute to overall chain wear, but in order to accurately measure the increase in pin to pin distance, the play in the rollers must be accounted for. The three point measurement system used on the Chain Checker Plus accomplishes this by pushing both rollers in the same direction during measurement, instead of in opposite directions, as is the case with common two-point measurement tools. As a result, the Chain Checker Plus achieves a true measure of the pin to pin distance.